Welcome to our Magicshine MJ-816 Review. Here in the UK we’ve been hammered recently by the weather; for the last few weeks Scotland in particular has resembled an Arctic landscape, with blizzards, white-outs, and motorways frozen closed for days – any bike riding that’s been done has been in the garage on the rollers, or spinning down the at the gym.
The last few days however, have seen a significant rise in temperature and the resultant thaw has us getting the overshoes looked out again, and the lights back on the bike, ready for recommencing the daily commute, training, and some off-road night riding too.
Before the Ice-Age took hold, we managed to get our hands on a Chinese made Magicshine MJ-816 Front Light Set [£96.46 from Magicshineuk.co.uk], and I’ve have been using them during my night-time rides to and from work, and in the local forest trails with pals – here’s how it’s gone.
In the box
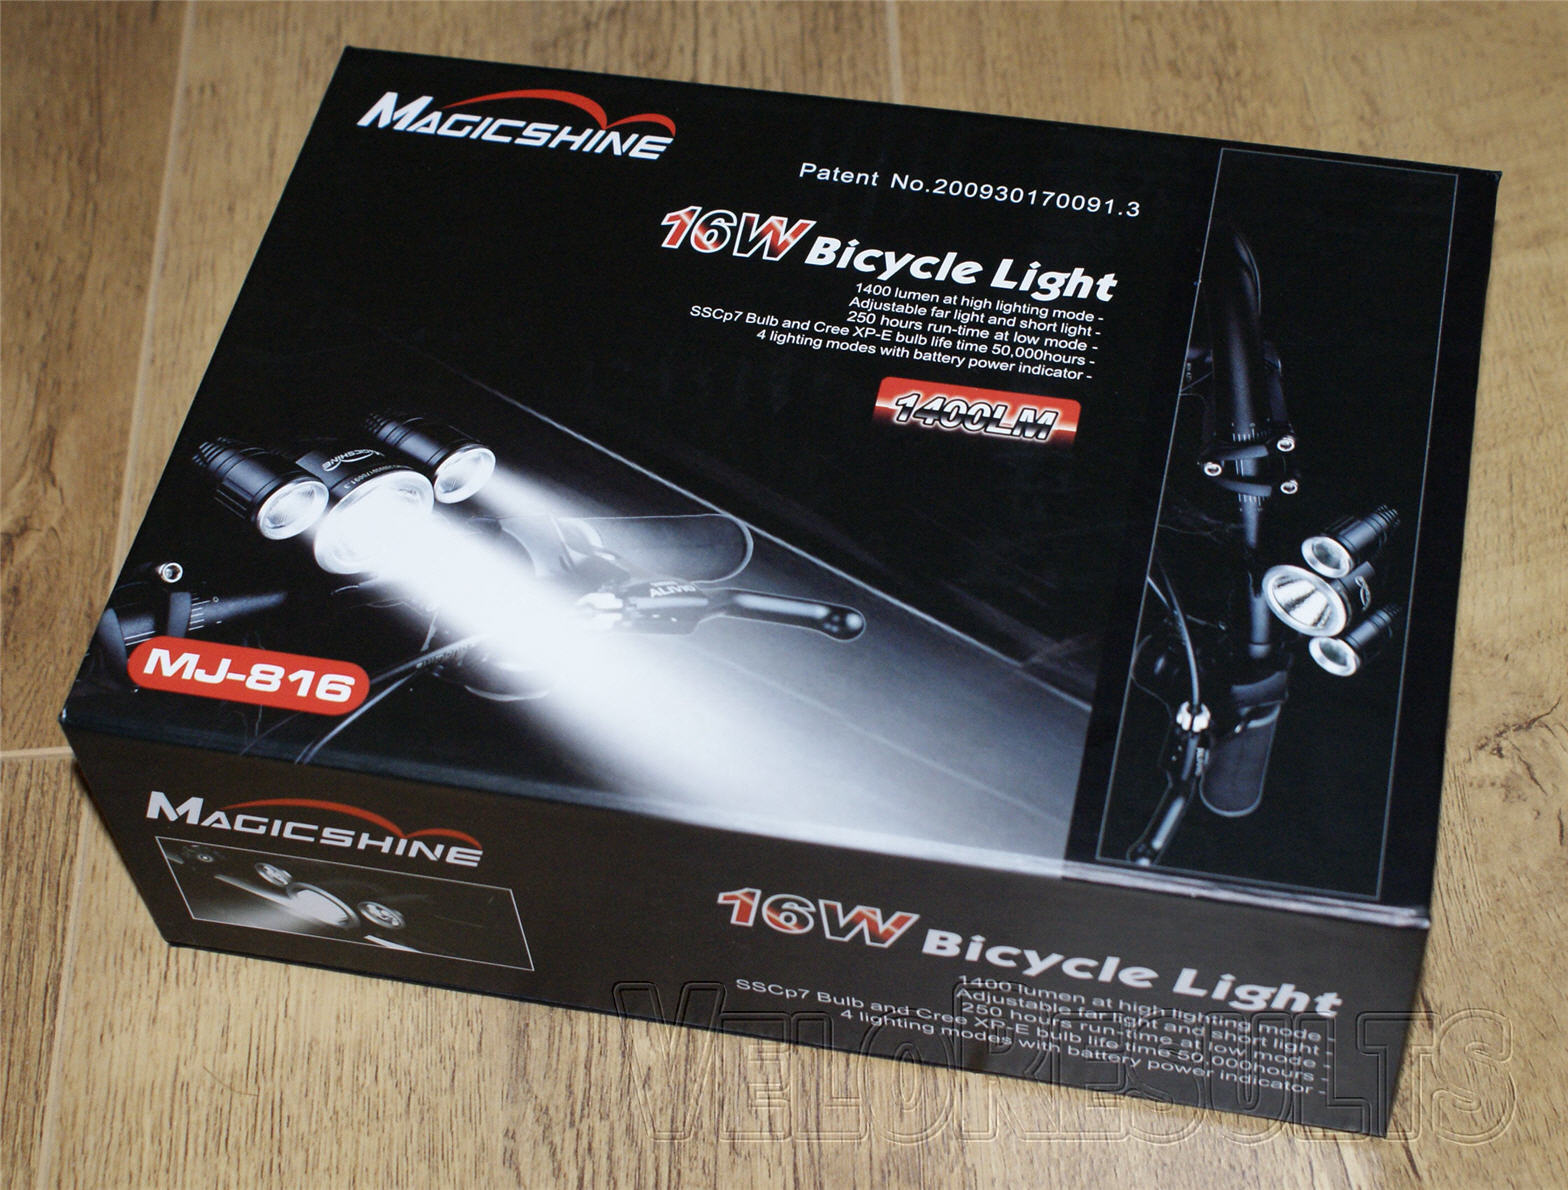
The packaging the lights come in is well-made, solid.
If I’m honest, for a cost of less than £100 I was expecting a product built to the price point, but this is a surprise – the lid closure is magnetised, and the box itself is robust.

Inside, the various components are slotted into the deep protective foam padding; the Li-ion battery pack, charger, mounting rings, and the light head, with it’s separate control button.
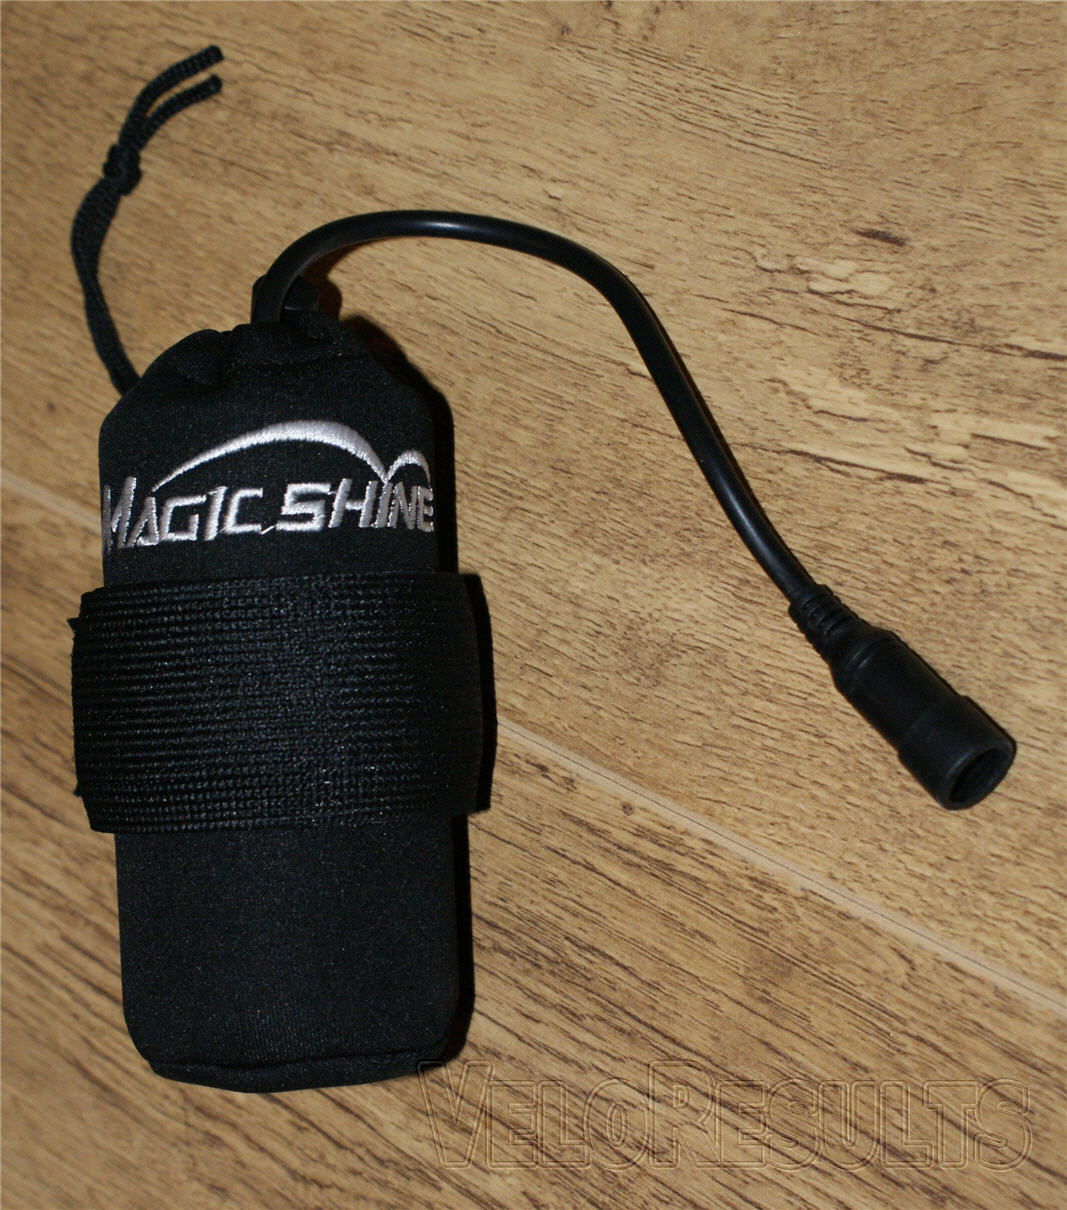
The battery pack is unusual – weighing around 330 grams, it’s basically a weatherproof sealed metal canister which provides protection to the battery (and aids safety) as the battery is fully enclosed inside. The battery is rated IP64, but exceeds this rating due to being enclosed in the cannister.
As well as offering further waterproofing, the neoprene bag doubles as the battery carrier on the bike, as it has a long, flexible Velcro strap which allows it to fix very securely to the bike in a number of different ways.
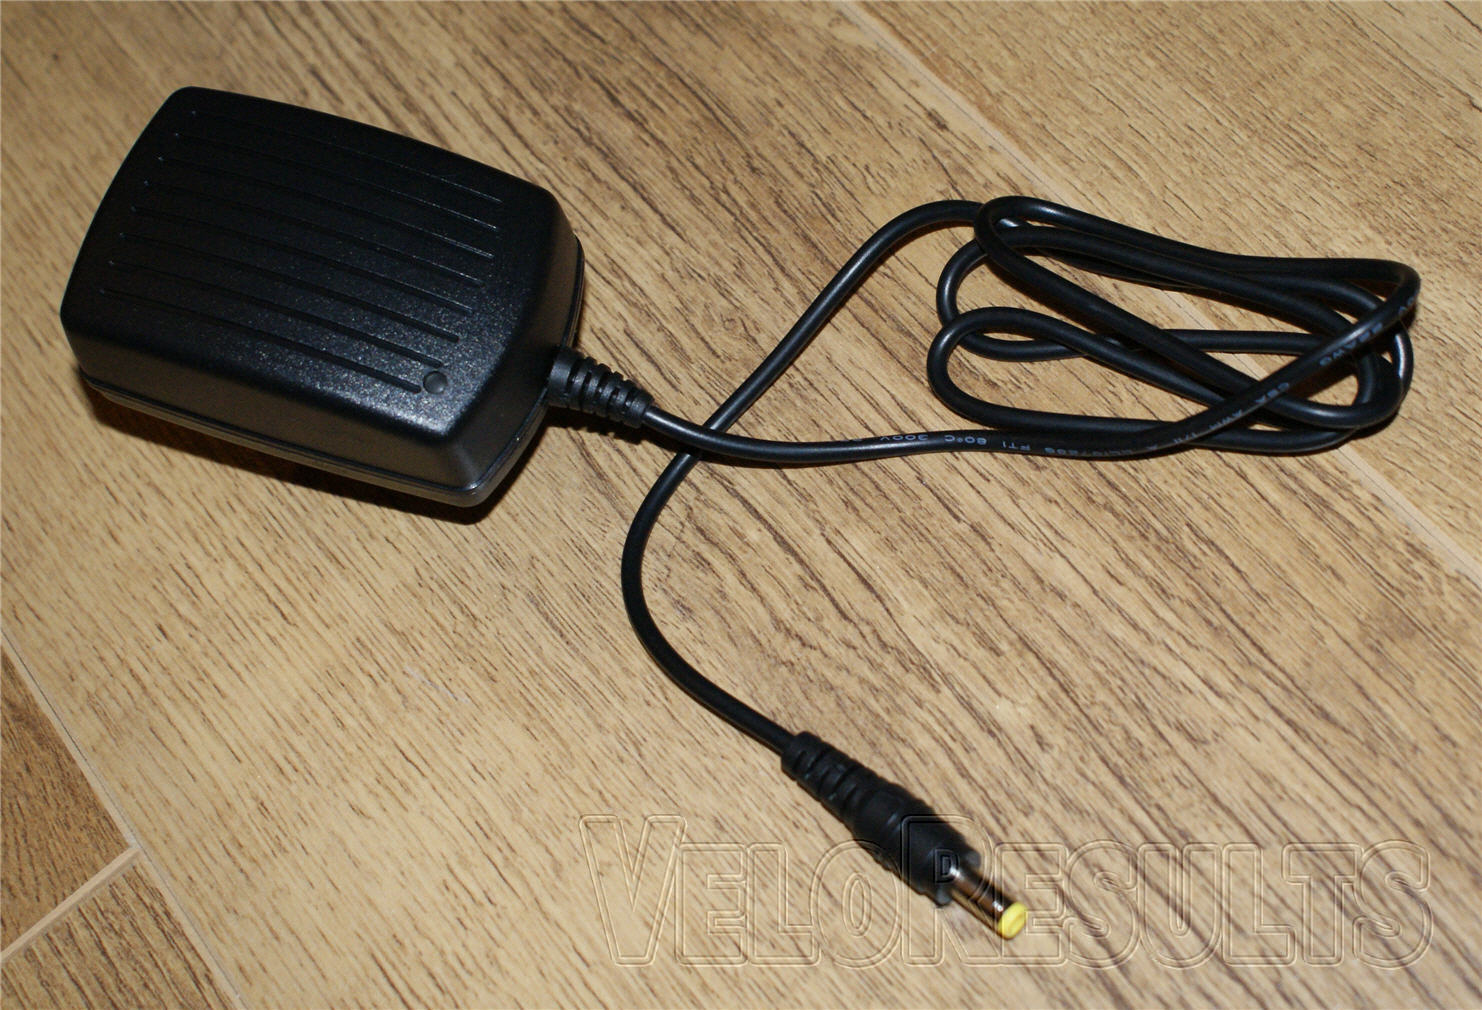
The 8.4v battery charger is a straightforward device as you’d expect, but it still manages a small surprise of it’s own: it’s capable of charging an exhausted battery in a little over three hours.
The small light on the lower front displays red during battery charging and changes to green when the battery is fully charged. The unit has an overcharge protection circuit, but nevertheless the advice from Magicshine UK is to not leave the light charging for over 24 hours continuously.
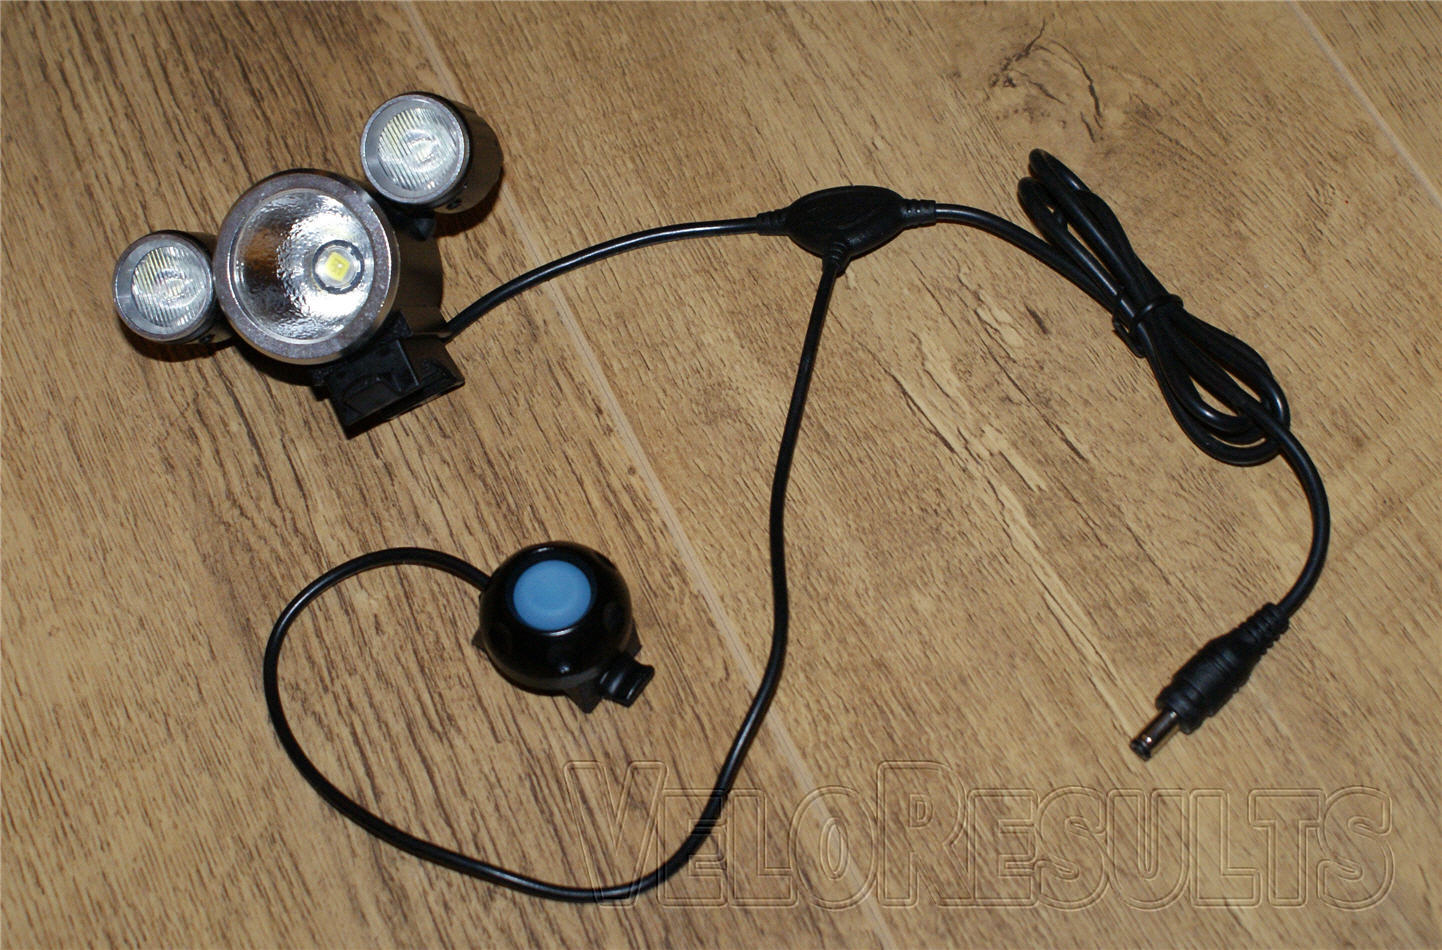
The light head itself is an odd looking thing. Much smaller than you think it ought to be for the claimed power – the larger main emitter lens is barely bigger than a 50 pence piece.
No wonder the lights have acquired the nickname of “the Mickey Mouse lights”, the twin CREE XP-E side bulbs are mounted either side of the main SSC-P7 bulb, giving a unique appearance.
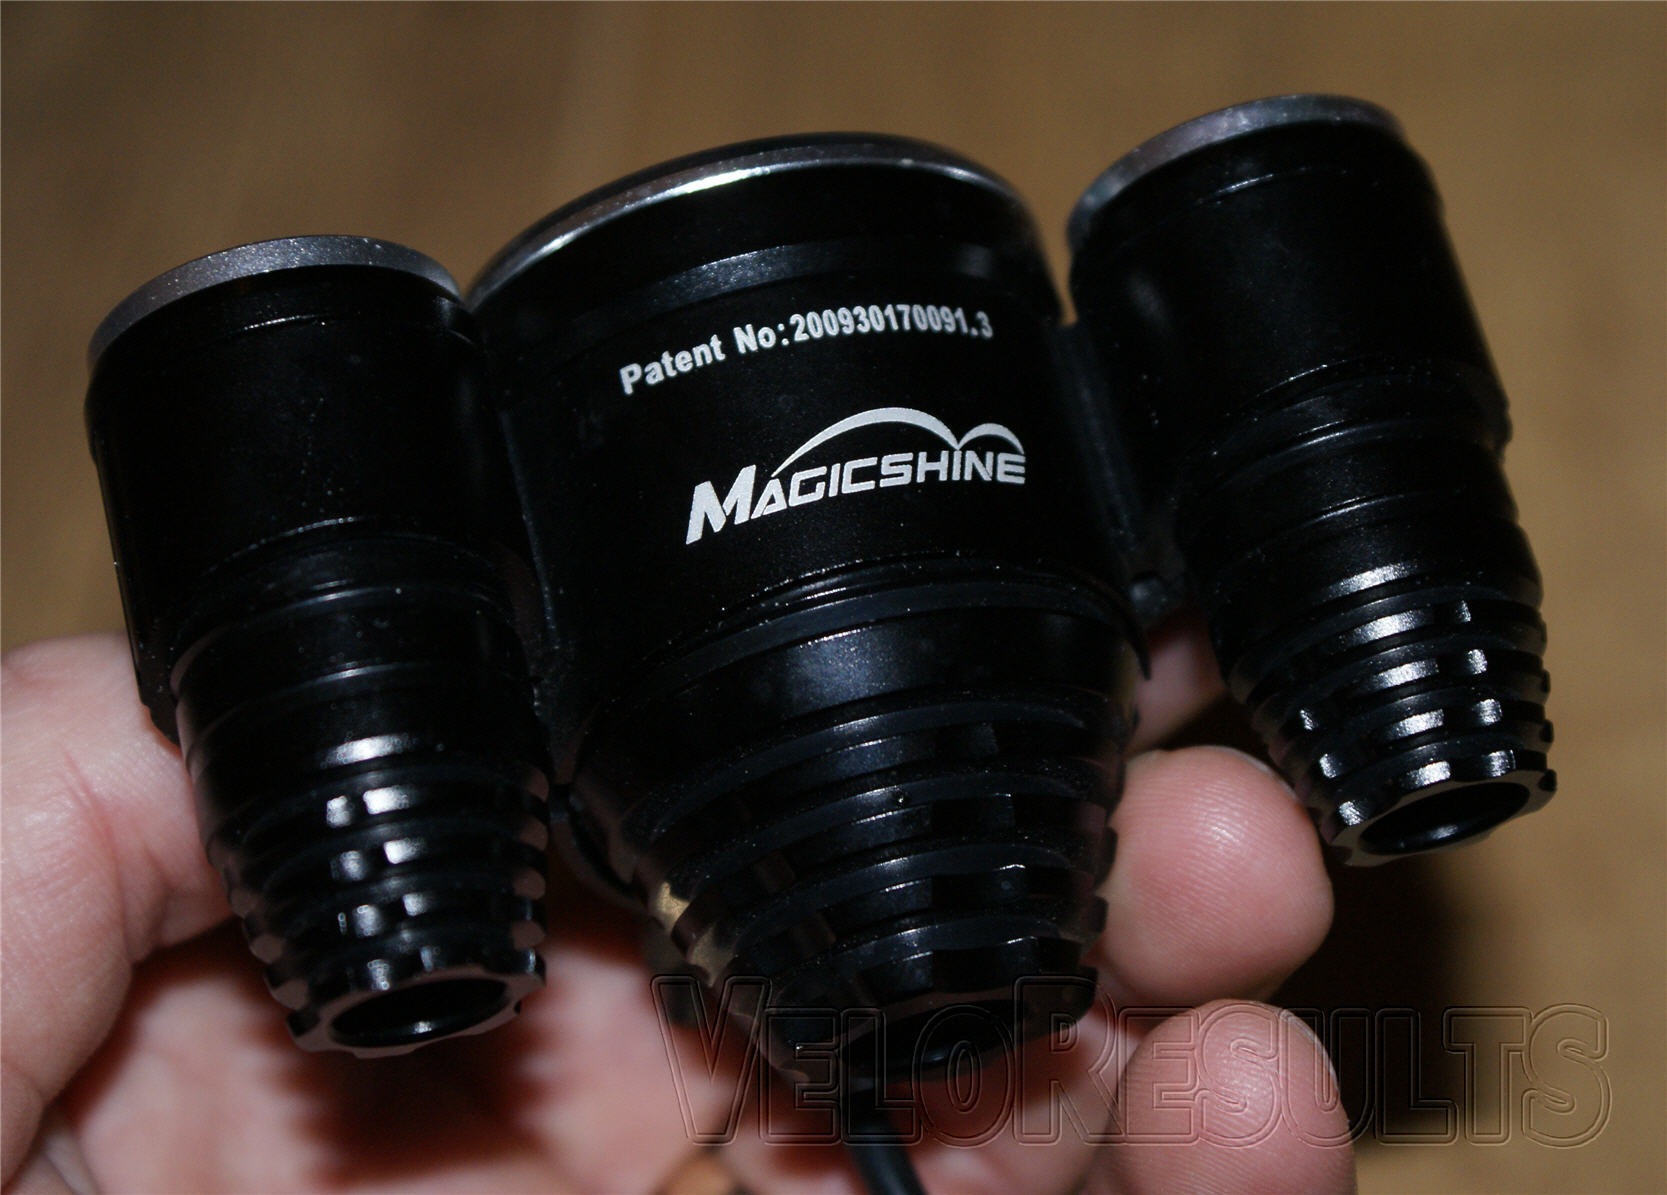
All three housings are solidly made in 6061-T6 Aircraft aluminium alloy, hard-anodized to ensure a non-abrasive finish.
There’s a separate control button which allows you to change the running mode between the three standard modes available, and which also displays battery charge remaining – a great feature if you’re prone to staying out on the trails longer than you thought you could, and limping home in the darkness.
Fitting the Lights
There are three parts to fit, the light head, it’s separate but linked control button, and the battery – and it’s all very easy and very quick.
The light head and control button are both affixed using whichever of the three supplied silica gel ‘O’ rings fits the ‘bar best, and it takes just seconds to get them in place.
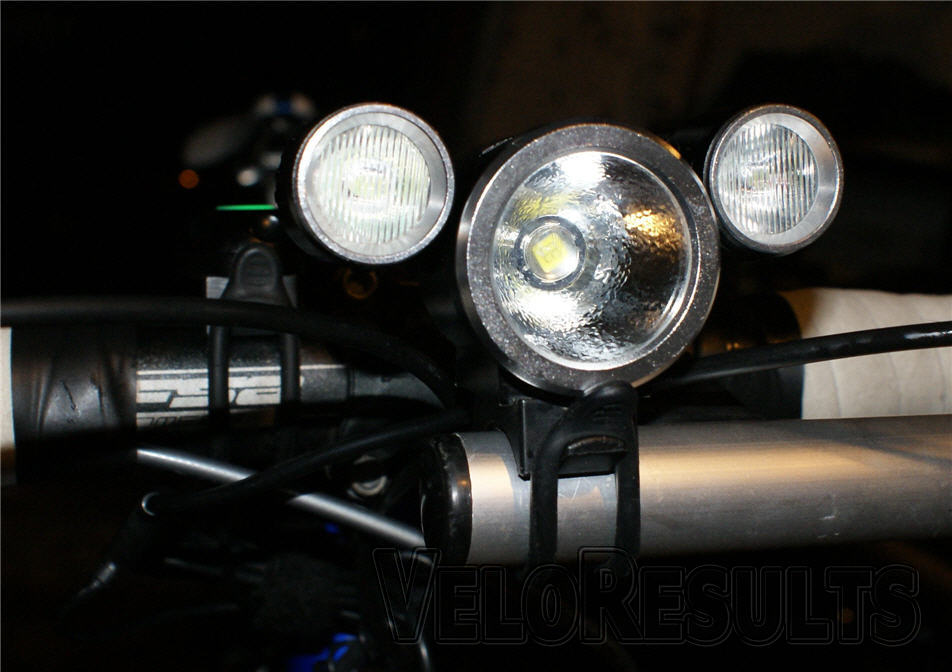
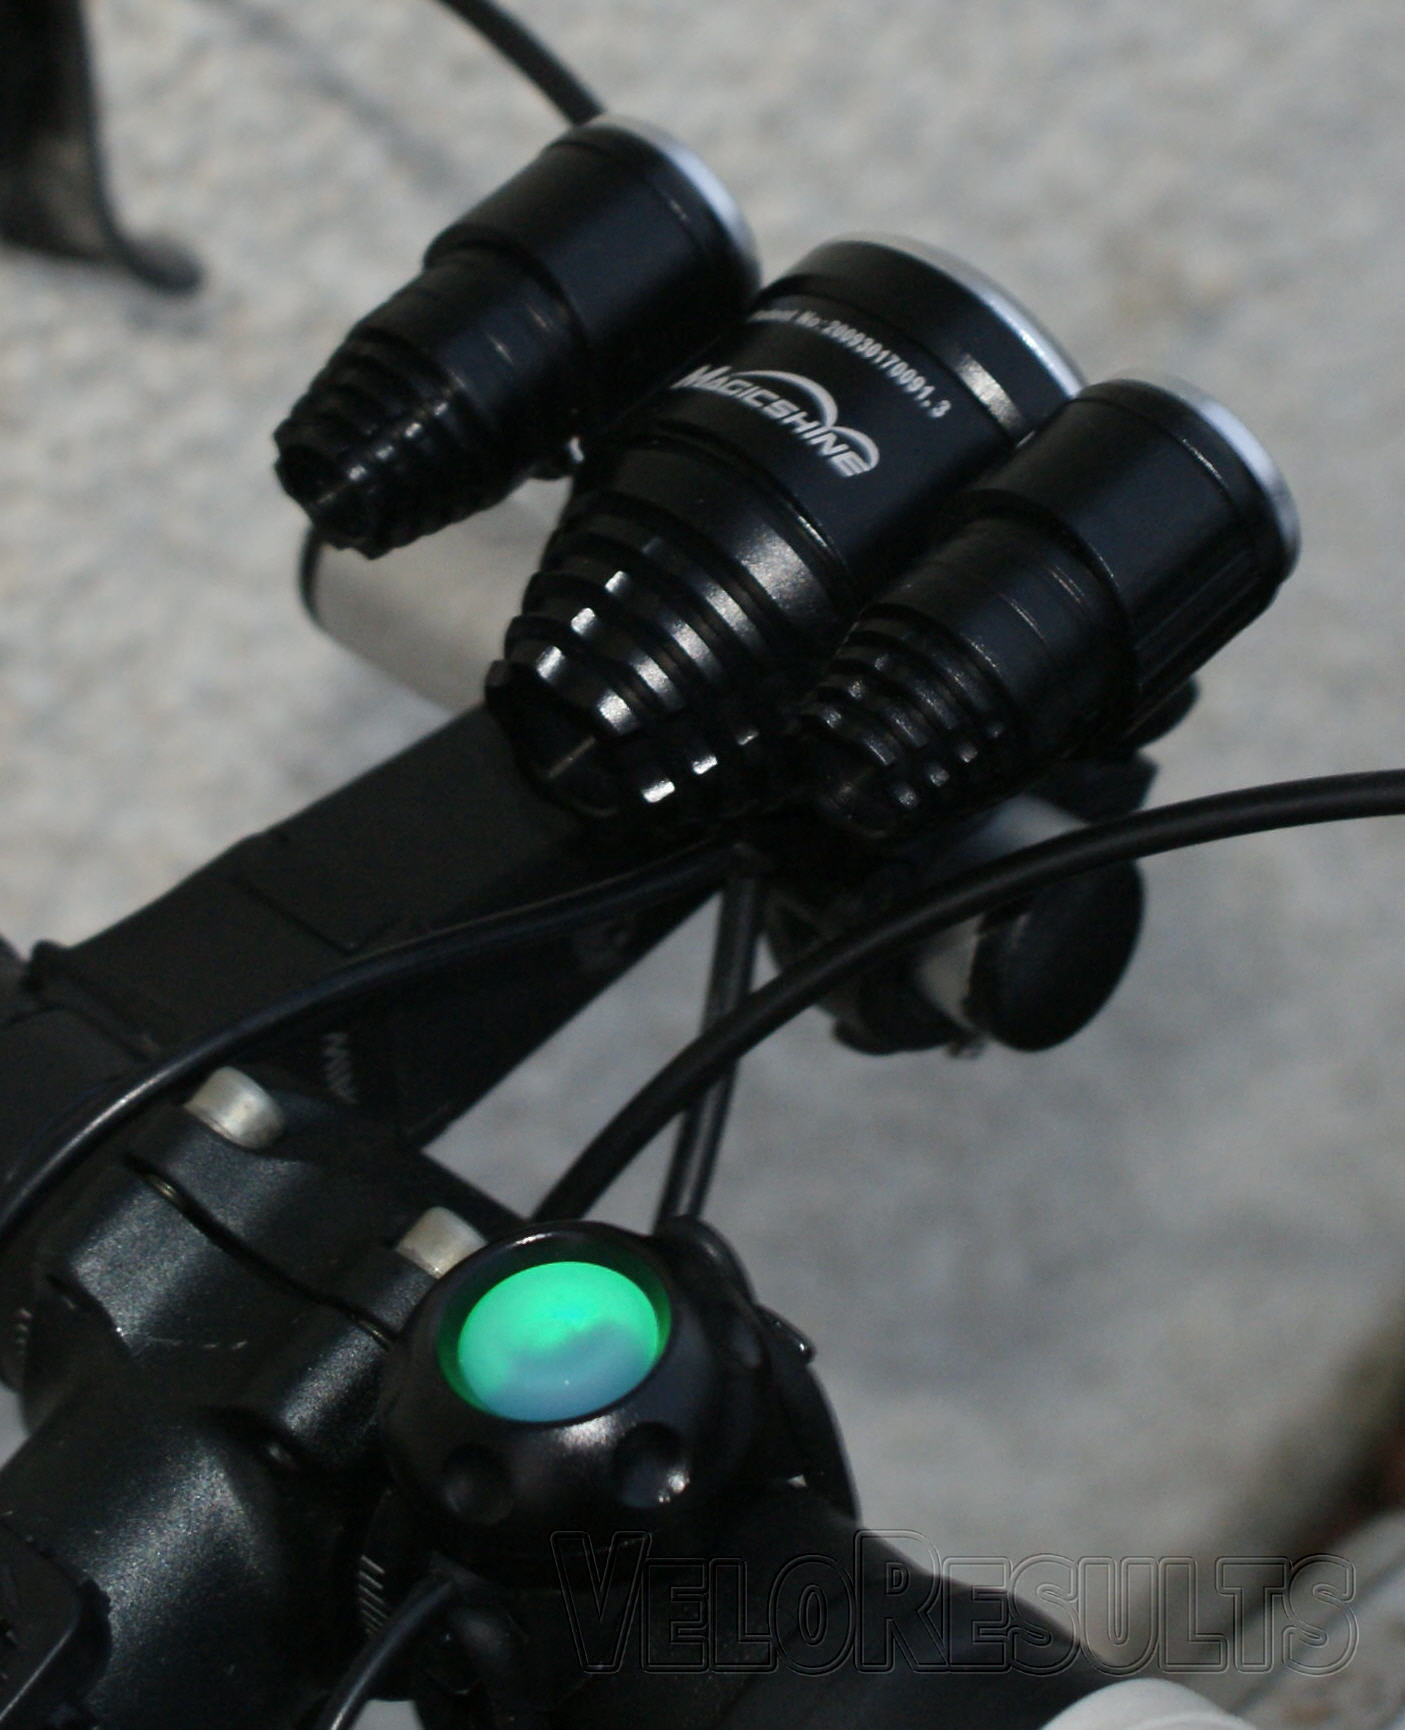
The cable length supplied with the light head is more than enough for mounting the battery in an under-saddle bag, or on the frame. If you want to carry the battery in your rear jersey pocket you may find that the one metre extension cable, available as an extra accessory (around £6.00), is useful so that you don’t feel so closely tied to the bike.
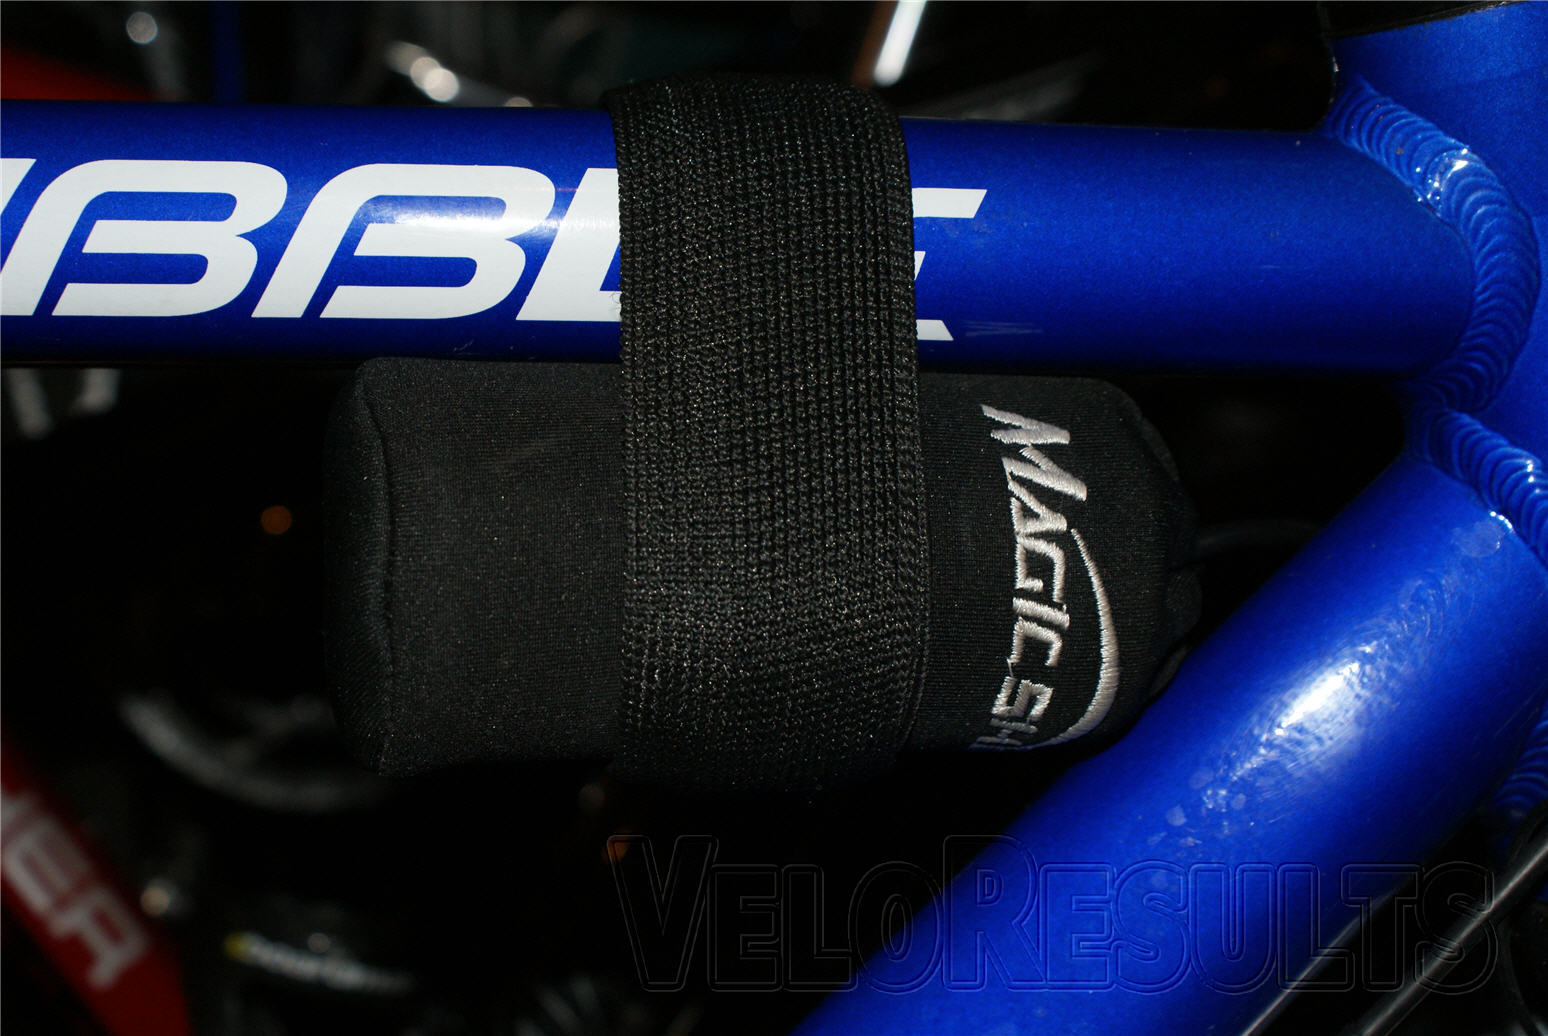
I prefer to hang the battery on the bike frame, close to the front end, so that it reduces the cable run length and makes it very quick and easy to remove the lights when leaving the bike parked at work, and the elasticated Velcro strap on the battery’s neoprene outer cover makes this a doddle; a quick couple of loops around the frame and it’s not going anywhere unless I want it to.
Last thing to do; plug in the light cable to the battery cable, which takes a reassuringly firm push to click them together.
Using the Lights
As soon as the lights are connected to the battery, the amount of charge in the battery is displayed by the control button colour; green means you have at least two and a half hours on full power to use.
Unlike other lights we’ve used, the lights don’t come on as soon as they’re connected to the battery, potentially unexpectedly blinding you or your cat – they are ready to use, but they’re in the “Off” mode.
Switching Modes
Mode i) To switch on the lights just press once on the control button, and the twin CREE XP-E LED side bulbs come on. These short range diffused lights have a really dazzling, very high kelvin, bright neon-white light, and are great for being seen in the town by other road users – or when off-road for showing up the near-path, acting like the side-lights on your car.
I found a big difference immediately between these lights and the HID lights I’ve been using in winters past – with these LEDs, there’s no warm-up time whilst the unit gets up to temperature; just switch on and Bang, you’re illuminated.
The side bulbs are near-focus, but when used to light up the verges at the side of the road and the sides of the path around eight to ten feet away, they’re ideal. Aimed a little higher when in town, the lights are diffused and create a great presence awareness.
Sometimes drivers still pull out on me of course – after all, “sorry mate I didn’t see you” isn’t an excuse but an admission – but I’ve found that when they are aware just how bright the lights are, they realise they should have seen me, and sometimes even apologise!
Mode ii) Press the control button again, and the side lights go off whilst the centre SSC-P7 LED bulb comes on.
This is a long-focus beam which illuminates a good 20-30 metres ahead of you, with a noticeably different light from the side bulbs, it’s much more yellowy.
In fact, it’s a deliberately chosen warmer tint so as to give better colour rendition – this has the effect of improving shadowing and depth on the road and trails, which really helps with speed/distance perception.
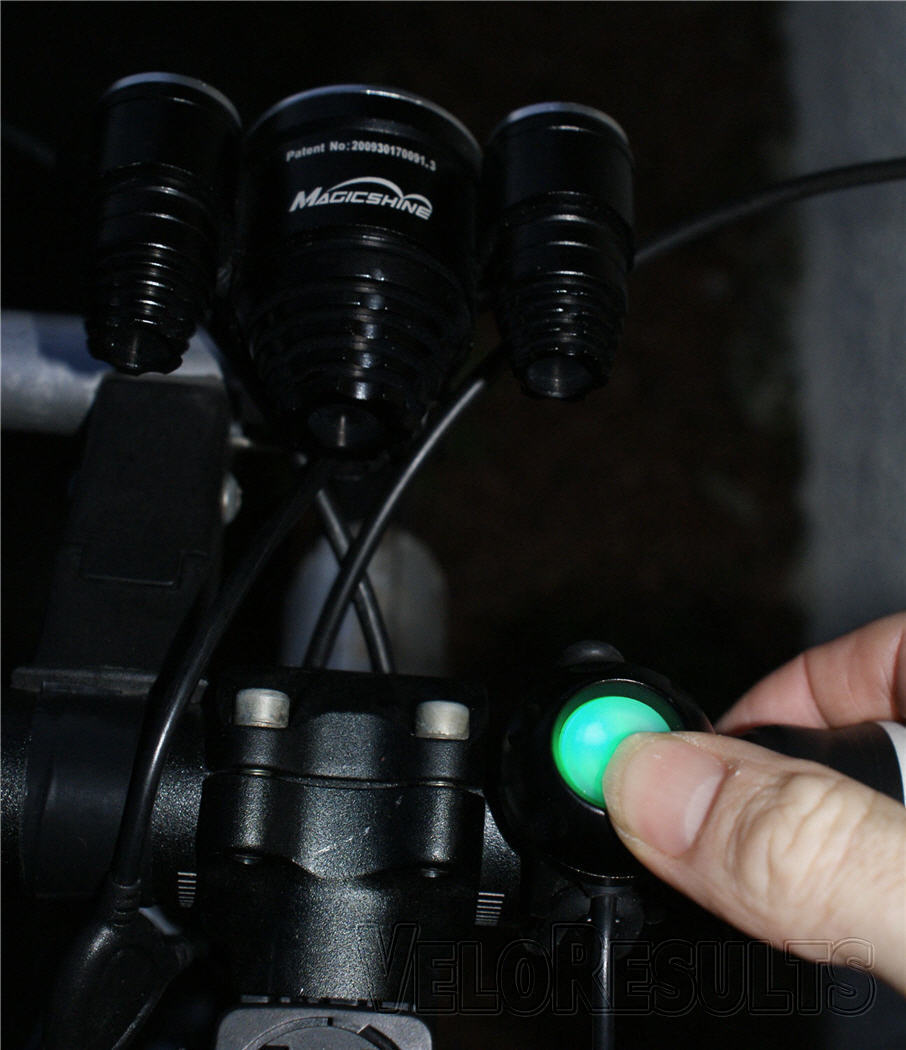
Mode iii) For the full effect, a third press of the control button brings the twin side bulbs on to join the main beam, and this is where the incredible figure of 1400 lumen is quoted from.
I’ve heard said that it’s not actually a full 1400 lumen, more like something around 1200-1350, and there may well be some difference between one light set and another – it depends upon the particular batch of emitters used on the lenses, but honestly I’ve never seen or used anything like these, and if they’re not 1400 they’re not far from it.
Particularly in this mode, these lights are very, very bright.
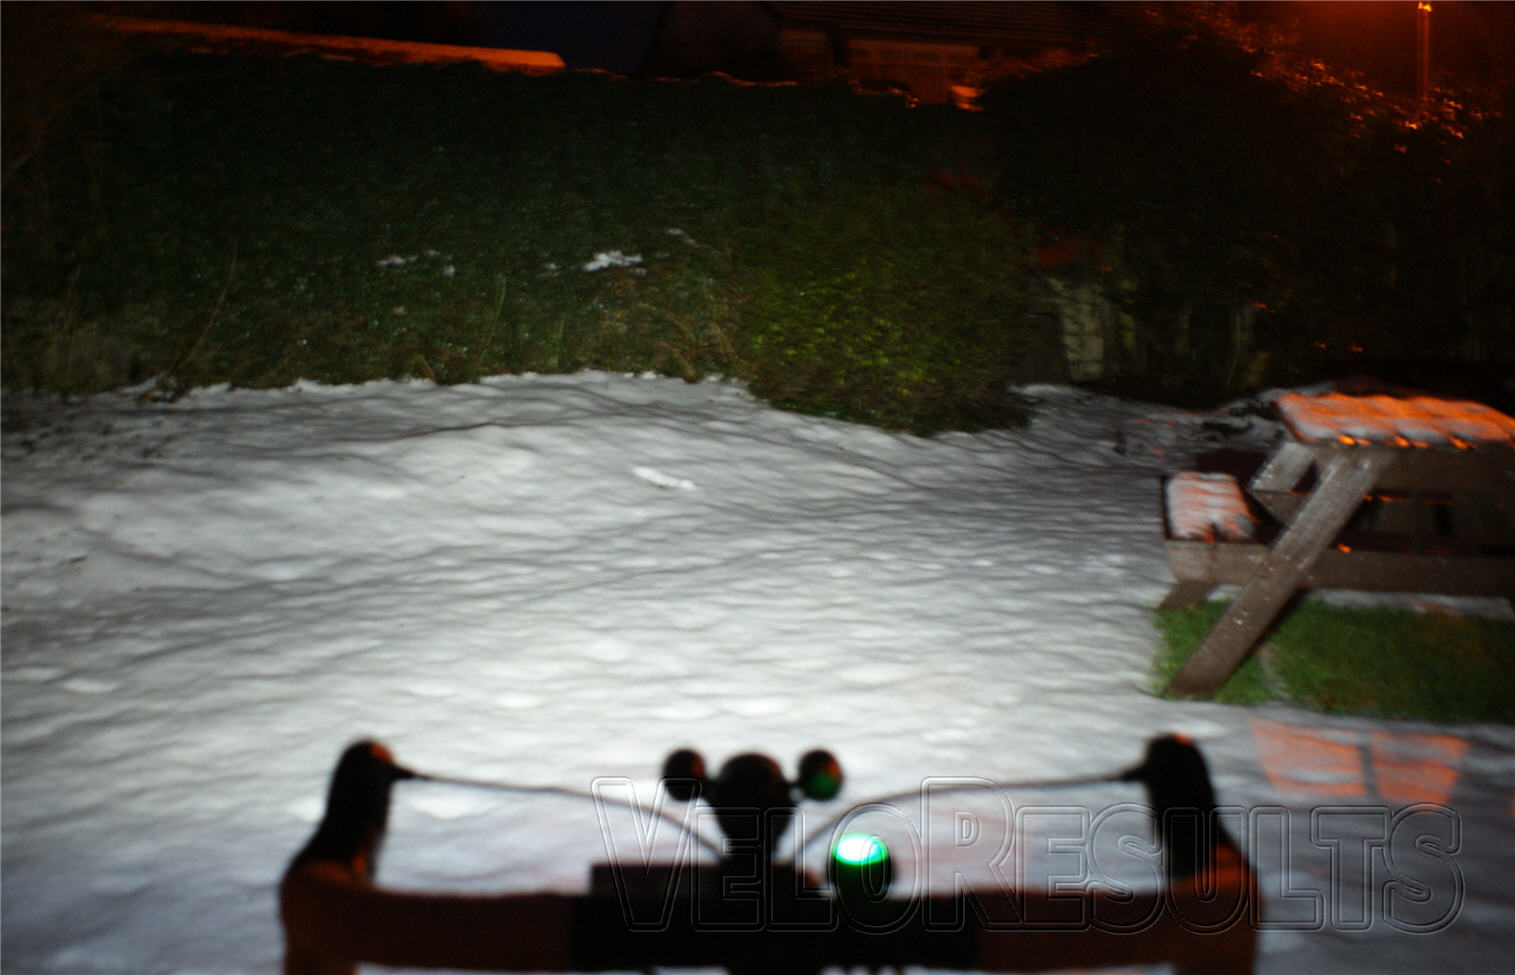
Mode iv) Press the control button for a fourth time to toggle back to the “Off” position.
Variable output
Whichever of the three “On” modes the lights are in, it’s possible to vary the output from 5% to 100% brightness, simply by holding down the control button for a few seconds, and releasing it when the light dims to the required brightness.
This is a stepless variance, meaning that it doesn’t jump in stages of brightness, it’s a smooth gradient.
A second press reverses the gradient direction, and the lights brighten. Again, you just release the button when the light reaches the brightness you want to use.
Helpfully, the light remembers the percentage brightness chosen for the specific mode, which means that you can have the main beam down at around 50% brightness, and switch to “full mode” (iii above) to have the side lights come in as well.
The main beam will stay at 50% whilst the side lights are on at 100%.
Knowing how far you are from home and (thanks to the colour indicator on the control button) how much charge you have left, and with a way of doing something about it, makes for a much better ride – there are no surprises, with lights suddenly running out of juice and plunging you into darkness.
Another way to achieve peace of mind of course is to carry a charged spare battery, and these are available separately at around £45.00.
Battery life
For my daily commute, which includes around an hour of unlit country roads as well as 30-45 minutes of city riding, I tend to switch modes as I ride – with the large control button it’s easy to do even with winter gloves on.
I’ll use full, “all on” mode in the dark narrow lanes, and switch to “side lights only” mode when in town – it’s still plenty bright enough to be seen by traffic.
Using the lights like this, I get home at night with lots of charge left, usually over 50% (the control button showing blue). I’ve not run the lights to total battery exhaustion, but it’s fair to say that the claimed three hours on full power is perfectly realistic.
Specification
- Light source: Main SSCp7 bulb with 2A— Cree XP-E side bulbs.
- Luminous flux: 1400 LM in high lighting mode.
- LED lifespan: Around 50,000 hours.
- Shell material: 6061-T6 Aircraft aluminium alloy.
- Surface treatment: Premium Type III hard-anodized anti-abrasive finish.
- Switch: Independent switch system – adjustable far centre light and short side lights.
- 4a — working modes: Off \ Centre SSC-P7 bulb on \ 2 A—CREE XP-E side bulbs on \ both SSC-P7 on and 2A— CREE XP-E on.
- Battery: 4a—18650 Li-ion battery (8.4V 4.4AH), voltage 6V to 18V, 250 hours run time in low mode.
- Battery life: 500 times cycle, battery power indicator.
- Charging time: 3 – 3.5 hours.
- Waterproof grade: IP64.
- Irradiation distance: >800 metres.
- Anti-reflection toughened optical front glass lens, tempered scratch resistant.
- High efficiency orange reflection cups.
- 4 – speed electric quantity display, high temperature protection function.
- Constant-current circuit, constant brightness, facula uniformity without shadow.
- Accessories: charger, neoprene battery cover with Velcro attachment, three silica gel mount rings.
On Balance
For
- Fantastic price – £96.46 for a light set with the above specification? Crazy.
- Brightness – really, 1400 lumens is all the brightness you need. You’ll have car drivers flashing their lights at you.
- Beam pattern – the different modes allow you to mix up the beam pattern to suit the trail, road, and conditions you’re riding in at the time.
- Command and control button – means you can control the light head modes and brightness remotely, and see how much juice is left in the system.
- Start up – it doesn’t start ‘on’, so you don’t get blinded.
- Three settings – side lights only, full beam only, all on. Great flexibility.
- Run time – from 250 hours to 2-3 hours depending on brightness level. I’m finding I’m getting more than three hours on full power, which is plenty for me.
- Variable brightness – you don’t have to run on full power all the time, and it’s nice to have the choice – whether it’s because of the light conditions or the level of charge left in the battery and your distance from home.
- Nice packaging – you’ll want to keep this box for summertime storage of your lights.
- Warranty – a full 12 months.
- Great service – nothing seems to be too much trouble for the MagicShine UK guys, the lights arrived on the expected day, and they carry a full spare parts list if needed.
Against
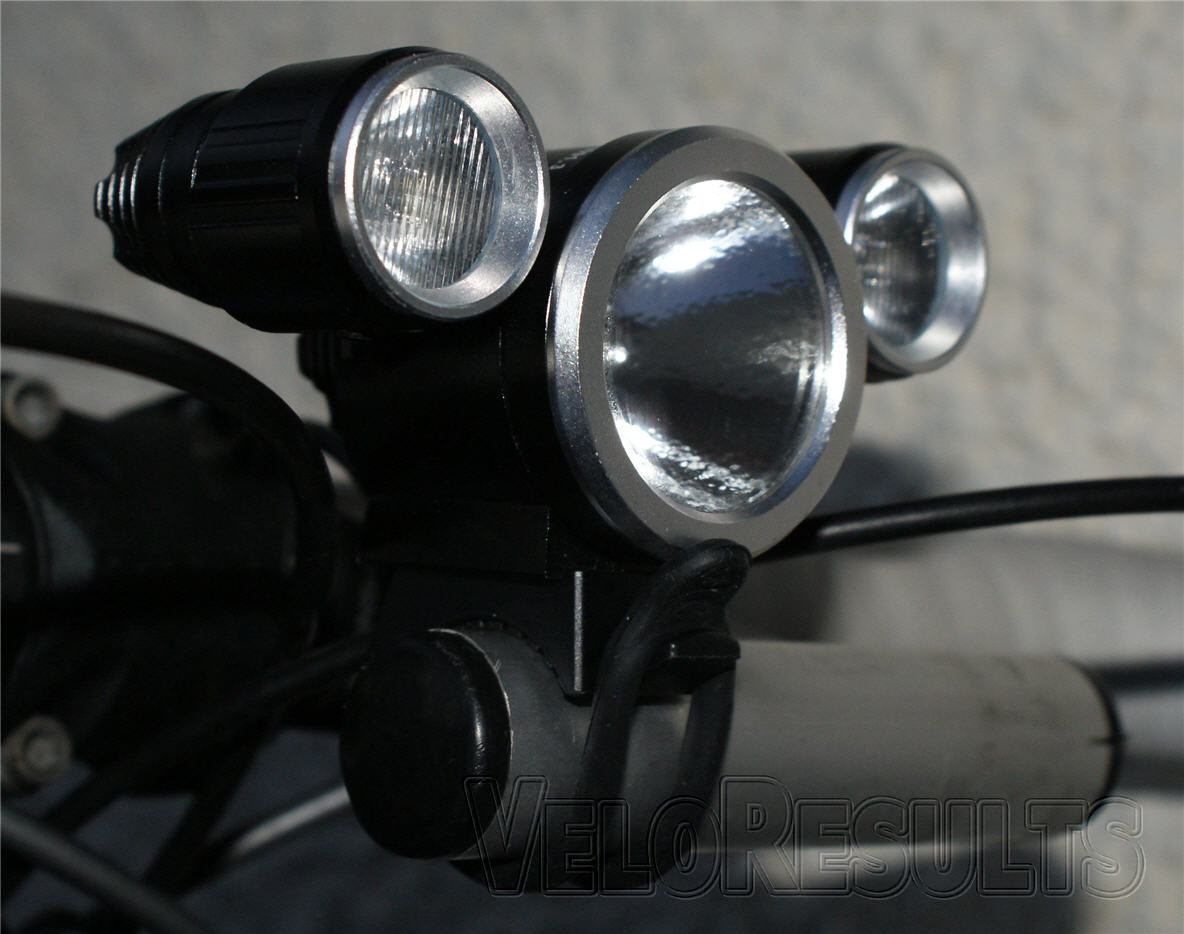
- On the road bike, I didn’t like the rubber ‘bar attachment for the light unit itself – but that’s probably because as you can see from the photos, I installed the MJ-816 on a “T” ‘space-saver’ extension to my handlebars, which has a slightly smaller than standard diameter. Even the smallest of the three rubber mount rings didn’t provide the totally fixed, wobble-free light position that I like for riding on the road, but it’s not the fault of the product itself. The simple solution was to use a compatible fixed clamp (£3 from my local bike shop) from a different light. The good folks at MagicShine tell me they’ve sold lots of these light units, and have only had a handful of people feeding back about the mounting rings, but may be offering the additional clamp option in the future if customer trials show this to be a good idea.
- However, on my mountain bike I have to say that using the middle sized mount ring to fasten the light head to the oversize ‘bars gave a good, stable fix for the lights, which was perfect for some ‘red route riding’ in the dark in my local forest.
Magicshine MJ-816 Review – Conclusion
Why Compromise? With the MagicShine MJ-816 you don’t have to.
On the road you don’t have to run two sets of lights, with one pointed at the near road surface, and the other aimed further away, or angled so that you’re seen by other drivers.
Off-road you don’t have to spend many hundreds of pounds to get the decent power output you need for the trails, or put up with a weak set of features because your budget for a front light set is less than £120.
Typically, at this price-point you’re looking at a single light putting out 120-150 lumens or a single-shot LED headlight, without any of the other features the Magicshine MJ-816 lights have such as variable beam pattern and intensity, separate control button, and so on – let alone close to ten times the brightness.
No doubt then, this is one of the brightest bike front lights you can buy at any price – and with the features it boasts at only a snip over £100 it’s one of the best value front light sets on the market today.
To find out more about the lights, or to get a set of your own, visit the Magicshineuk.co.uk website.


